Wednesday, November 13, 2019

Wings Arrive

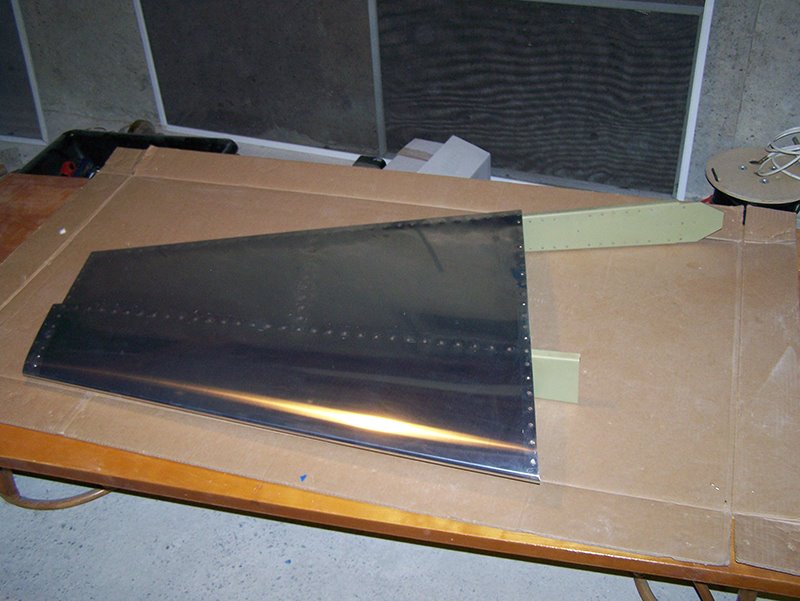
Wings are here!


Inventory is done. All parts accounted for except one bag of hardware that's on backorder.


Saturday, September 9, 2017

Dust Control

Been steadily cleaning out the basement.  We've disposed of dozens of bags of trash, recycle, and donations.  Dust has been a real problem, mostly due to the concrete floors slowly disintegrating.  I cleared half the basement and applied a concrete sealer to the floor.  It's been tricky to get it to stay down but a couple of coats seems to cover it.  It's not perfect, but it seems to be keeping the dust down.  We had some foam tiles laying around, so I put those down.


Another day and I'll be ready to start moving the bench and tools back in.

Friday, August 25, 2017

New Workbench Surface

I've been slowly organizing my tools and improving my workspace.  Doesn't make for very interesting blog posts, but it's getting me closer to resuming the project.

Tonight I finished resurfacing the workbench with some fresh MDF.  I cut the board to size and now I have a nice, level work surface.  Much better than the rough 2x6 planks that were there before.  I also added some cross-beams to stabilize the bench.  It's solid now.


Stacey was a trooper last week helping me carry the heavy sheets into the basement.


I think it would be a good idea to cover the surface with plastic.  I think MDF will soak up any liquids that spill on it, and that will ruin the surface.  Post a comment if you have any suggestions for what to use over the MDF!

Saturday, August 19, 2017

Getting Organized

Well hello.  It's been quite a long time.  A lot has happened since my last post.  I've changed jobs twice, I now have two awesome boys, and I bought a '65 Cessna 172F with a couple of partners.


All the while my empennage has been collecting dust in the basement.

Recently, my younger son, now 7, has been asking if we can build the plane.  He loves building things and he's really good at it.  How can I say no?

In all this time my tools have become scattered throughout the house and it's been so long that I barely remember where I left off.

Harbor Freight had a sale this weekend, and I picked up some toolboxes.


They're not the biggest or the best, but I got a great deal and now I'm motivated to organize my tools, take inventory, and make progress.

Thankfully I took decent notes during my build.  I had checklists for each subassembly, and if there was anything I needed to come back to, I noted it.  After I get my workspace in order, I'll go through my logs and get reacquainted with where I left off.

Stay tuned!

Wednesday, April 7, 2010

Stalled

It's been a year and a half since I've posted a blog entry. Amazing how life takes off when you have kids. Not much progress to report. Somewhere between now and my last blog post I had riveted the right elevator, but the aluminum in my basement hasnt' moved for quite some time. I scored some shelves from a hardware store that had gone under. Once I get those assembled I'll have a place to store the completed tail components.

Today, sitting at my desk watching the planes make their approach into Hanscom, I am nostalgic for getting behind the yoke or to crank up the compressor and pound some rivets.

Wednesday, October 7, 2009

Riveting the Rudder

Been a while since I've made any progress on the project. The new job has kept me busy. I managed to find a couple hours tonight to work on the rudder.

I finished riveting the counterbalance skin to the rib. I attached the counterweight. Then I clecoed the skins to the structure. Could not do any more riveting because Josh was sleeping.


Time spent: 2 hours (115 Total)

Saturday, September 12, 2009

Riveting Rudder Skeleton

Riveted together some of the rudder understructure. Began riveting the counterbalance skin to the counterbalance rib.

Time Spent: 4 hours (113 Total)

Monday, September 7, 2009

Finished Priming Rudder and Elevators

Long day. Prep, layed out parts, alumiprep, alodine, AZKO, packed up and cleaned up. Parts are back in the basement and cars are back in the garage. There were nearly 100 parts primed today. I don't think I'd want to do more than that in a single batch. Other than letting them dry before AZKO, it kept me pretty busy all day. Good news is this is the last time I have to prime until I get to the wings. On to riveting the rudder and elevators!

Time spent: 6 hours (109 Total)

Priming

It's my last day of freedom before I start a new job. If I don't prime the rest of my tail feathers now it will not get done before the weather turns frigid. Time for an all day primer fest!


Monday, August 3, 2009

Just One Pop Rivet

Received a few LP4-3 pop rivets from bobdobbs. Thanks Bob, that was fast! I came in late tonight so all I did was pull that last rivet. Ready to attach the rear spar.

Friday, July 31, 2009

More horizontal stabilizer work

Riveted more of the horizontal stabilizer.


Unfortunately I am short one LP4-3 pop rivet so I cannot yet attach the rear spar and finish the part. I put out a request to VAF for someone local with these rivets. Thankfully someone is going to mail me a couple and get me going again. Just another example of how great the RV community is!

Time spent: 1 hour (103 total)

Thursday, July 30, 2009

Riveted Horizontal Stabilizer

Riveted the left side of the HS together. Riveted most of the right side.


Just have to wrap up the right side and then put in the rear spar. Although, I seem to be short one pop rivet for one of the ribs. I also need a no-hole yoke to get a couple of the rivets near the leading edge. Pricey though... That will have to wait until I am employed.

Time spent: 6 hours (102 total)

Wednesday, July 29, 2009

Finished the Vertical Stabilizer!

As it turns out, I didn't really need the single offset rivet set to get into that tight spot. I had a bucking bar I used in the tight area and put the factory head on the easy to reach side. It was a little awkward, but it worked. I'm sure I'll encounter much worse.

I finished the vertical stabilizer. The skin is riveted on and the part is ready to go (minus the fiberglass tip). Feels good to finish one subassembly!


Time spent: 4 hours (96 total)

Wednesday, July 8, 2009

Riveted HS understructure

Riveted the rear spar assembly and the forward spar assembly. I could use a double offset rivet set to get the inboard most ribs riveted. I may have to order one. I wish I had thought of it when I ordered the single offset set. I'll see if the single offset set will do the job when it arrives.


Time spent: 3 hours (92 total)

Monday, July 6, 2009

Riveted VS understructure

Riveted the rear spar assembly and most of the ribs to the forward spar. I need a single offset rivet set to complete the understructure. I ordered one from Avery.

Time spent: 4 hours (89 total)

Saturday, July 4, 2009

Friday, July 3, 2009

Saturday, June 27, 2009

Built painting/drying screen

It's time to prime. I spent some time tonight getting my garage ready for priming. I built what's essentially an oversized cooling rack - the kind of thing you'd put cookies on to cool. It's approx. a 4x8 frame with chicken wire attached. Nothing fancy, but it will be very handy when I'm prepping and priming parts. It can be used for drying parts after alumiprep and alodine, and it can be used to hold parts while spraying AZKO. The hardest part was finding the darn box of screws I purchased for this.


Time spent: 2 hours (76 total)

Sunday, June 21, 2009

Trim tab

I took the plunge and bent the trim tab. I've read that some people have trouble bending the trailing edge, and most people have trouble with the bends in the inboard and outboard edges, so I've been putting this off for a while.

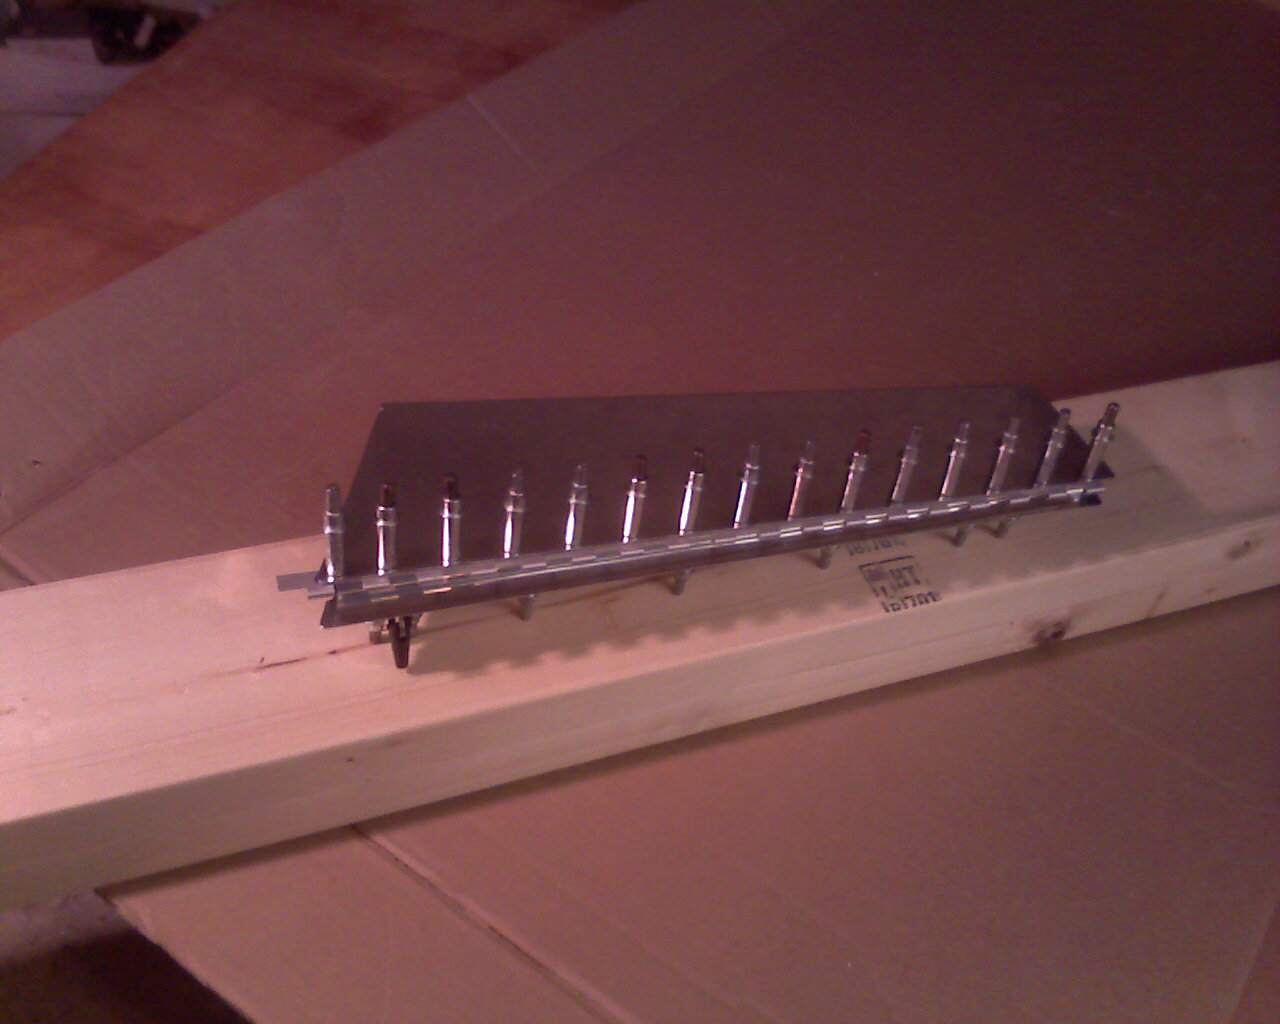
I built the trailing edge "bending brake" out of 2x6's and door hinges. I took my time and gradually finished the bend in the trailing edge. Came out great.

Then I built bending blocks to bend the tabs in the inboard and outboard edges. I decided to make my blocks out of an oak stair tread. I've heard it's best to use a hard wood for bending blocks, and a stair tread was a cheap way to get a piece of oak. I cut the blocks at the proper angle, used a roll-on glue to keep the blocks from sliding, and clamped the trim tab in place on the edge of my work bench.

I started with the inboard tabs. First the bottom, then the top. I really took my time working it with a rubber mallet and a piece of pine to soften the blow. Once I bent the tab as far as it would go, I used the mushroom set on the rivet gun to finish the bend. I set the pressure as low as it would go (just before it stopped hammering) and worked the seam back and forth. I am happy with the results.


Once I was done bending, I clamped the elevator hinge to the spar and drilled it in place. I trimmed the hinge on the trim tab side according to the plans. I clamped the control horn in place and drilled that to the trim tab. Final drilled all holes, deburred, dimpled, and countersunk as directed, and called it a night.


Time spent: 4 hours (74 total)

Wednesday, June 17, 2009

Dimpled and countersunk left elevator

Dimpled and countersunk the understructure according to the manual. Finished small tasks such as countersinking the counterweight and counterbalance skin, and adding bevels to the counterbalance skin. This time I believe I did the bevel correctly. It was supposed to go on the edge of the skin, not in the middle of the skin where the elevator skin overlaps it. I will probably have to order a new counterbalance skin as I probably created an unnecessary stress riser in the right counterbalance skin.

After finishing the understructure, I deburred and dimpled the holes in the left elevator skin.

Time spent: 3 hours (70 total)